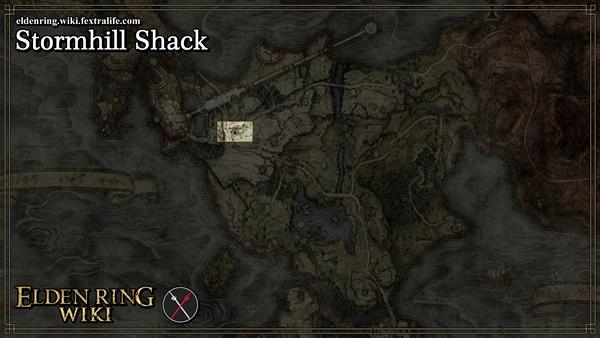
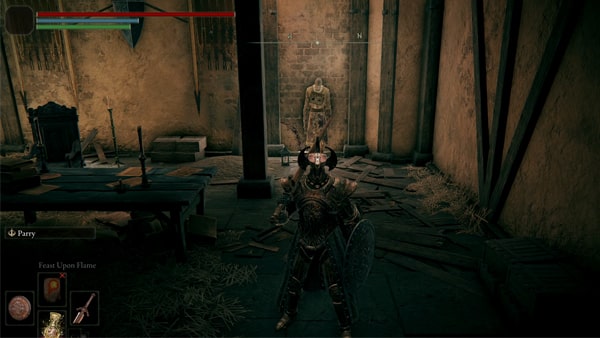
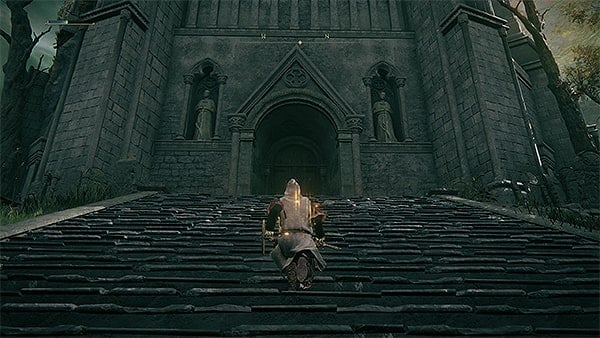
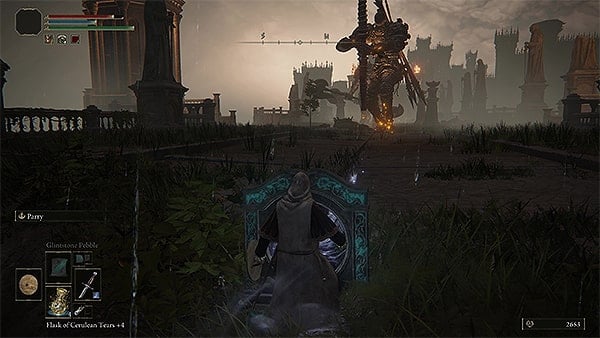
Stormveil adalah Legacy Dungeon pertama dan ujian besar untuk build awal. Sebelum masuk, tingkatkan flask serta senjata, lalu temui Roderika di Stormhill Shack untuk memperoleh Spirit Jellyfish Ashes.
Rute samping yang disarankan Gostoc lebih aman daripada gerbang utama. Di dalam kastel, buka Site of Grace dan shortcut secara bertahap agar kematian tidak membuat perjalanan terlalu panjang.
Persiapan di Stormhill Shack
Lewati Stormgate dengan Torrent dan ambil Golden Seed di dekat pohon emas. Aktifkan Stormhill Shack Site of Grace, lalu bicara dengan Roderika sampai dialognya habis untuk memperoleh Spirit Jellyfish Ashes. Summon ini cukup tahan lama untuk membantu saat boss.
Kalahkan Margit, the Fell Omen
Gunakan Spirit Ash atau summon Sorcerer Rogier untuk membagi aggro. Jangan menyerang setelah setiap dodge; tunggu Margit menyelesaikan combo dan balas satu atau dua pukulan. Margit's Shackle dari Patches dapat menahannya dua kali selama fase pertama bila pertarungan masih terasa berat.
Pilih Jalur Samping dari Gostoc
Setelah Margit kalah, aktifkan Stormveil Main Gate Site of Grace dan bicara dengan Gatekeeper Gostoc. Terima sarannya untuk memakai lubang di sisi kiri. Jalur tebing ini menghindari rentetan ballista di gerbang utama dan membawa kamu ke Stormveil Cliffside.
Naik Lewat Rampart Tower
Habisi Exile Soldier dan Warhawk satu per satu, lalu gunakan Site of Grace sebagai checkpoint. Di ruangan gelap, kalahkan Banished Knight untuk mengambil Rusty Key dan Curved Sword Talisman. Buka pintu terkunci dan terus naik menuju Rampart Tower serta rooftop.
Temui Rogier dan Nepheli
Cari Sorcerer Rogier di chapel dan habiskan dialognya. Menjelang arena Godrick, temui Nepheli Loux di ruangan samping dekat Secluded Cell. Bicara sampai selesai agar summon sign Nepheli muncul di depan fog gate boss.
Kalahkan Godrick the Grafted
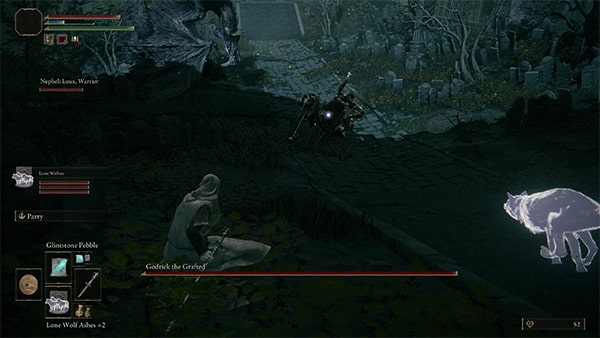
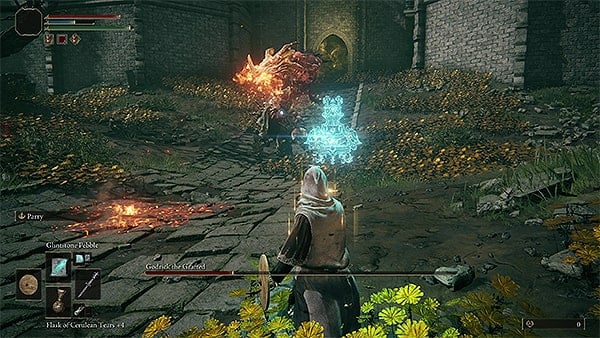
Masuk bersama Nepheli atau Spirit Ash agar perhatian Godrick terbagi. Pada fase pertama, jaga jarak dari combo kapak dan serang setelah lompatan besarnya. Saat fase kedua dimulai, bergerak ke belakang lengan naga ketika ia menyapu api. Bermain sabar dan manfaatkan arena untuk memutus garis serang.
If you are utilizing spells or ranged attacks, summoning the wolves by using the Lone Wolf Ashes will help in depleting Godrick's health, as well as grabbing his attention. If you did summon Nepheli before stepping through the fog door, she can also help with small amounts of damage, but she's actually more effective by grabbing Godrick's attention as well, and surprisingly, she is a bit tanky, allowing her to at least survive until you reach the second phase of the battle. Utilize high ground and keep Godrick below you as you bombard him with magical ranged attacks. On the other hand, if you are using your melee weapons, make use of weapons that have a longer reach so you can land those attacks while maintaining a safe distance. Patience, timing, and playing defensively will work here since Godrick will be leaping into the air and executing tumbling attacks. During our playthrough, we were able to bring down his HP and enter the second phase just by bombarding him with magical attacks, of course, provided that we have our flasks upgraded and ready to use.
The second phase triggers when you've inflicted about 30-40% damage to his HP. A short cutscene will trigger where you'll see him cut off his arm, fusing it with the head of the dragon's corpse, reanimating it. During the second phase, Godrick gains additional attacks where he can now use his left dragon head arm as a flamethrower, as well as imbuing his attacks with flames. As soon as you continue the fight, move away from him or if you're positioned close to him, get behind him to avoid getting hit by the flames. If he starts to use one of his dragon breath attacks in a forward sweeping arc position, you must roll clockwise before the flames come into contact with you to avoid getting hit, since standing far away from his attacks may still reach you.
Luckily, you can still use the environment around you to use as cover for the flames such as the elevated platforms and ledges, especially when he shoots flames in the air. At this point, close-quarter combat won't work here, Nepheli will probably die, so again, you'll need to focus on his attacks, keep away from him, and rely on any ranged-based attacks. You can even throw daggers or darts at him since he is somehow vulnerable yet resistant to Bleed. Depending on the situation you are in, your best shot to defeat Godrick is to use magical ranged attacks. Successfully defeating Godrick the Grafted yields x1 Godrick's Great Rune and x1 Remembrance of the Grafted, as well as 15000 Runes.
By receiving a Great Rune, you can use it to restore the power at Divine Towers throughout the Lands Between. You will need to check the description of each Great Rune to discover which Divine Tower you should visit. At the center of the arena is a lost site of grace that you can examine and activate.
Godrick the Grafted's Throne Room
Straight ahead, is Godrick's throne room. At the center is a large seat and there are two rooms you can check on both east and west sides. The room on the east is empty, so check the west room where you'll see a set of steps going down to the basement section. Climb down the ladder that's on the left side and you'll immediately see a spirit NPC that looks like it's praying.
Approach it and you can find an item next to it, pick it up to obtain x1 Shabriri Grape. If you speak to the spirit, it will just ask where the maiden is and to take the grapes. If you turn back, you'll see a passage that goes outside, formally arriving at Liurnia of the Lakes. If you return to the Roundtable Hold, you'll find Nepheli Loux, the warrior who helped you in fighting Godrick, at the northeast side, by the library. Don't forget to speak to her so that she can give you x1 Arsenal Charm.
Using Godrick's Great Rune
Now, if you want to use Godrick's Great Rune, you will need to fast travel to the Limgrave Tower Bridge site at Stormhill. The path ahead is guarded by reanimated Colossal Statues, you can choose to fight them one at a time or just make a run for it until you reach the end where you'll find a waygate. When you reach the other end, there are some Warhawk enemies here, as well as a flock of non-hostile Eagles. Keep going straight until you reach the large door of the tower, head inside, and step on the mechanism to activate the lift.
At the top, is another site of grace you can discover, the Divine Tower of Limgrave. Continue to the top until you reach the peak where you'll find a glowing sigil at the center. Approach and interact with it to restore the power of the great rune. Godrick's Great Rune blesses the player's character by raising all attributes.
Exploring the Castle's Underground Crypt
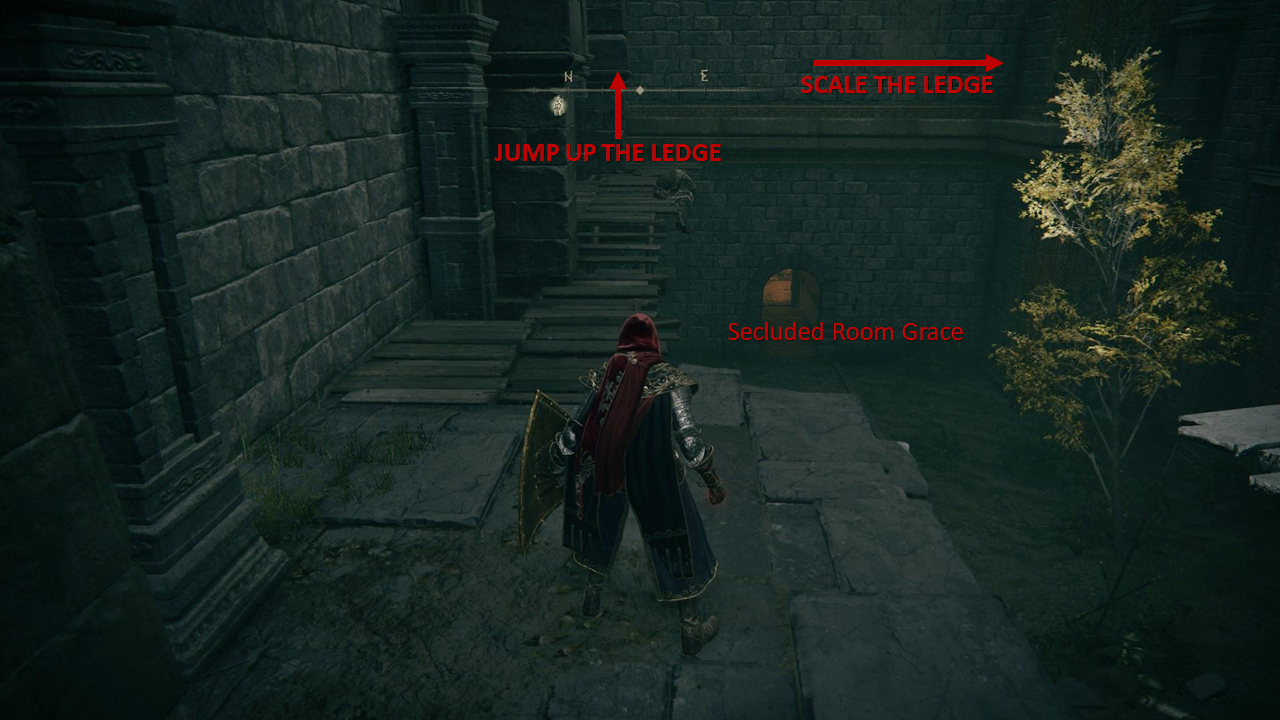
Now, you might have missed an area in Stormveil Castle, and that is an underground crypt. To find the entrance, first, fast travel to the Secluded Cell Site of Grace. Go straight through the tunnel, then turn around after walking up the sloped floor. From the wooden platform where the Kukri were, jump towards the northeast wall and land on the ledge there. Make your way to the right and jump once again to land on the windowsill.
Outside, you can find a Blade Talon Eagle and a sword-wielding Banished Knight, a Lump of Flesh is on a body to the right. Make your way back up and turn left, then after exiting the short corridor, you can jump up to find a Smithing Stone (2) to your right. Turn the other way to pick up another Smithing Stone (1) and a Golden Rune (2). In the next room, there are multiple Commoners and the Manor Towershield can be found next to the stairs. Head outside to find a Smithing Stone (3), then turn left and jump down multiple ledges. At the bottom, go around the tower to find a Golden Rune (5). You have to jump onto the ledge to pick it up, so jump while standing still and press forwards in mid-air in order to land on top of it. Go inside to find 5 Rainbow Stones, then turn left to open the shortcut to the Liftside Chamber site of grace. Turn around and jump across the tiled roofs on the opposite wall. There is an Arteria Leaf inside the tower, guarded by a Giant Bat. You can snipe two more hanging bats from here or simply go down the stairs and drop to the lower platform to take them out there. Walk across the broken beam and jump the gap to find a Smithing Stone (2). There is another way to get here, if you don't want to fight the bats, but take some fall damage instead: Start from the Liftside Chamber site of grace and exit through the doorway leading to the courtyard. Make a hard right from the door and approach the corpse sitting by the ledge. You should have enough health so that you can take the damage from dropping on the platform below. Next, walk up a bit to the ledge and drop onto the beam where you found the Smithing Stone (2). To proceed, drop to the wooden platform on the right, and continue going down via the platforms on the right as well, til you're down on the ground.
Below, next to the wooden platform, there is another Commoner corpse that you can loot to find Golden Rune (2). Make sure to restore your HP or FP to be ready for the enemies ahead, a few Rats and one giant one. Kill the creatures and continue forward. Along the way, there is another corpse you can loot to find Poisonbloom. As you move to the right, you'll see a Teardrop Scarab, quickly kill it to acquire x1 Rancorcall.
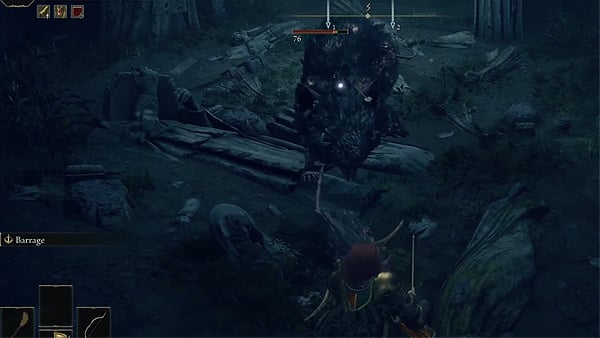
The path from here is pretty linear and you'll find a pit that you'll need to drop down to, just make further preparations since a strong enemy will appear here. Also, if you notice there are multiple bodies in the pit that you can loot, there is a Stonesword Key among these. Take care of that later and fight the enemy first. As soon as you drop down, the creature will appear from the ground. The Ulcerated Tree Spirit is a towering, centipede-like creature that heavily features bodies composed of tree-like structures.
It is quick and very aggressive when it attacks and moves similar to a centipede. The Tree Spirit also features two large arms and it mainly uses it to swing around or to slam the ground. It can also use its tail to hit you. One of the best ways to defeat this elite enemy is to counterattack after it uses those heavy moves where it needs to recover. At some point, its HP is at 50-60%, it will start to glow and emit a blast. Be ready to move back to avoid getting hit by it. This also means all of its attacks will be imbued with the glowing power it's emitting, gaining more range and damage to your HP - take your time and be patient.
Once you've defeated this creature, you can loot the bodies and go forward where you'll see a giant face structured from roots. On the right side, there is a corpse that you can loot to find the Prince of Death's Pustule talisman. After grabbing the talisman, climb the ladder that's on the left. At the top, just drop down from the ledge and you'll find yourself back at the entrance of the Grafted Scion's room.
Where to find the Crucible Knight
Head out from the Rampart Tower Site of Grace to the Warhawks and lots of fire barrels, there is a small area on the left where the third eagle comes from; walk up here and jump on top of the outer wall and look down. There should be a ledge you can drop to, drop down and follow the ledge along to pick up the Marred Wooden Shield and follow the route until you get to a ledge that is extremely high up, if the ledge does not break on its own, swing your weapon or roll and the ground should break and you will fall into a large bush below. Follow the ledge back ground to find a Teardrop Scarab that drops Ash of War: Storm Assault. Just a bit further on is a Crucible Knight that drops Aspects of the Crucible: Horns; rather than fight him immediately, you can run past him, follow the ledge up a ramp, and turn left into a tower to activate a lift back to the Rampart Tower Site of Grace before doubling back to fight with the safety of the nearby respawn.
STORMVEIL CASTLE TRIVIA
The item descriptions for the Marred Wooden Shield and the Marred Leather Shield make note of the fact that they, along with the castle as a whole, are marred by thorns and mottling. The descriptions speculate as to the nature of this phenomenon, mentioning two possible theories: that it is the result of a curse brought about by Godrick's grafting, or that the source is more sinister and lies deep underneath the castle. When venturing into the underground passage near the Liftside Chamber Site of Grace, we find a mutated corpse implied to be that of a demigod (similar in appearance to Godwyn's body, found near the roots of the Erdtree. The Prince of Death's Pustule talisman's description and later interactions with Fia heavily suggest that it is in fact part of Godwyn's body, that spread under the land via the Erdtree roots). Rogier was injured after interacting with this corpse. Later, D, Hunter of the Dead, mentions how Rogier has been afflicted with thorns when discussing his current condition. This could mean that the thorns and mottling afflicting the castle do, indeed, come from the same demigod corpse